A bike trip to Norway has long been on my bucket list. This year the stars aligned in such a way that might finally make it possible, spurred on by the realisation that Spain and Italy (the alternative) in July might be a tad too hot for comfort.
A look at the map confirmed that Norway would require a bit more planning than my 1976 trip to Italy aboard my Yamaha 350 with nothing more than a strapped-on overnight bag, some two-stroke oil, a tin of chain lube and some cash. The plotted route totted up to a shade under 5,000 miles, so it was time to make sure the Valkyrie was prepped for the journey.
Having sorted out the seized front discs earlier in the year, it seemed a good idea to check the rear brake pads, change the oil in the final-drive hub as well as the engine oil, and decide on a new rear tyre. Swapping the brake pads seemed easy enough, according to the videos on YouTube. Getting the old pads out was indeed easy, and they were clearly in need of immediate replacement, Norway trip or not. Having bought my new OEM front pads over the counter at Hunts Motorcycles in Manchester for what I thought was a very reasonable £21 a set a few months ago, I was surprised to find that the rear pads cost £48 a set – and were out of stock.
When they arrived, I consulted the videos again and noted that the twin pistons needed to be pressed back into the caliper as far as possible to accommodate the thicker new pads. Made sense. They went back into the caliper body just enough to allow the pads to be squeezed into place. The wheel rotated freely when I pushed the bike but a five-mile road test without touching the rear brake pedal revealed a disc that was white hot, so something wasn’t right.
Helpful fellow-owners on the Valkyrie Facebook group (a great source of advice) suggested that I should have removed the fluid reservoir cap before pushing the pistons back. I hadn’t, of course, so I removed the new pads, took off the cap, drained a bit of brake fluid with a syringe, and pushed the pistons fully back. This created enough pad clearance that the caliper could now be slid manually in and out on the pins. The disc stayed cool this time and the brake worked fine. Result!
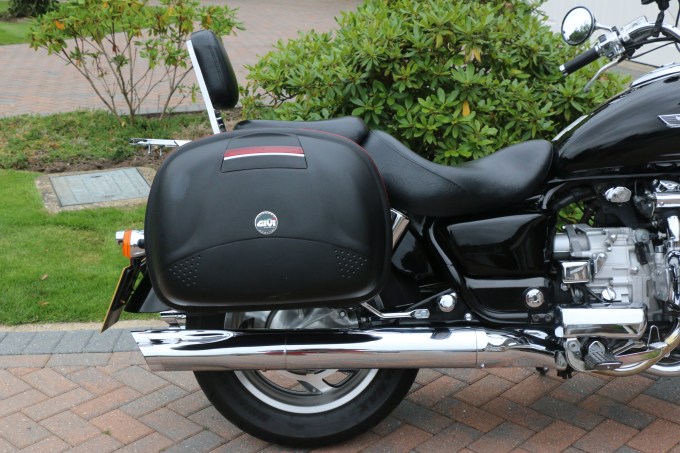
Buoyed by my success, it was time to tackle the rear hub oil change. Directed again by the online gurus, I bought a length of clear tubing to get the oil into the awkwardly placed filler hole and realised that the only way to get a spanner on the filler cap was to remove the right-hand exhaust. Yes, buying a slimmer, dished spanner might have obviated that need, but accessing the filler hole would still be tricky, so off came the pipe, which also required taking off the engine crash bar. Draining and refilling the hub with 150ml of heavy gear oil was a doddle, and the engine oil and filter change was a familiar routine and simplicity itself.
Deciding to replace the rear tyre wasn’t a snap choice. The existing tyre had plenty of tread left and had covered only 4,000 miles, but I reckoned that adding 5,000 miles two-up with luggage might be unwise. Better to replace the tyre and keep the original. However, replacing the rear tyre made all those other tasks seem ridiculously easy.
My go-to guy for tyres these days is Steve at F&B Motorcycle Tyres in Sandbach, Cheshire. He obtained a new Bridgestone Exedra Max for me in less than 24 hours and offered to fit it the same day at a very reasonable all-in price. I settled down in a chair on his driveway to watch and offered help if needed – which it was, frequently, over the next three hours! To get the wheel off requires a large hydraulic jack under the sump. Then you remove both exhaust pipes, the engine bars (so the pipes can come off), the gear lever (to access one of the header-pipe nuts), the pannier brackets and the rear portion of the mudguard. The wheel nut had been over-tightened by the tyre-fitting company I used last time to more than 200 Nm, Steve reckoned; the recommended torque setting is 110 Nm.
The actual tyre replacement took a matter of minutes, Steve adding a dab of high-temperature moly grease to the gear splines while replacing the wheel in the hub. The process of bolting everything back together was hindered by the need to align a number of bolts that didn’t want to be aligned. The worst offenders were those going into blind retention nuts behind the mudguard, with some bolts needing 10 minutes of fiddling to get proper engagement. Finally, it was all done. Now all we needed was my wife’s Schengen visa. For the uninitiated, people from outside the EU and the UK need a visa to enter anywhere in the Schengen area. Any country can issue it, although it should be from the country you’ll be spending the most time in. Italy (still a possible destination for us later this summer) couldn’t offer a preliminary appointment until mid-September, and Belgium, France and Denmark weren’t much better, but Mrs Peter got lucky with Norway which offered a next-day appointment – 200 miles away in London. She went there with a stack of required documentation (return Eurotunnel booking, a couple of campsite bookings, two ferry bookings, marriage cert…) and endured the seemingly inevitable aura of suspicion that permeates all such offices. They duly processed her application but could offer no help as to when the visa might be forthcoming. Happily, it arrived while the Valkyrie was having its tyre fitted, which augurs well…
